Traveling with a portable oxygen concentrator (POC) can feel overwhelming, but careful preparation makes it manageable. Here's what you need to know:
- Batteries: FAA rules require enough battery power for 150% of your total travel time (including layovers and delays). Always pack spares in your carry-on.
- Power Adapters: Carry both AC (wall outlet) and DC (car) adapters. For international trips, bring plug adapters to match local outlets.
- Medical Documents: Have your oxygen prescription, doctor’s statement, and any airline-required forms ready.
- Oxygen Accessories: Pack extra cannulas, tubing, and filters in case of emergencies.
- Backup Plan: Coordinate with your airline at least 48 hours before your flight. Arrive at the airport early, and have contact numbers for your doctor, oxygen supplier, and airline medical desk.
Use a customizable checklist to stay organized, ensuring nothing is forgotten. With the right preparation, you can travel confidently while maintaining uninterrupted oxygen therapy.
Tips for Flying with a FAA Approved Portable Oxygen Concentrator

FAA Battery Requirements and Math
Navigating the FAA guidelines for portable oxygen concentrator batteries is crucial for a smooth and safe travel experience. These rules are in place to ensure you have enough power throughout your trip while adhering to safety standards.
Understanding FAA Battery Rules
Before you pack, familiarize yourself with both FAA and airline-specific battery policies. It's always wise to bring extra battery capacity in case of unexpected delays. Make sure your oxygen concentrator and its batteries are approved for in-flight use and listed as acceptable devices by your airline.
Pay close attention to the watt-hour (Wh) rating of each battery. Batteries with lower watt-hour ratings usually don't require additional airline approval, but higher-capacity ones might. Also, batteries must be packed in your carry-on luggage - not in checked bags - and stored in their original packaging or a protective case to prevent short circuits. Once you're clear on the rules, it's time to figure out how much power you'll actually need.
How to Calculate Your Battery Needs
Start by calculating your total travel time. This includes not just the flight itself but also layovers and any possible delays. Add a safety buffer to this total to ensure you're covered for unforeseen circumstances. Then, check your oxygen concentrator's specifications to understand how long its battery typically lasts at your prescribed oxygen settings. Keep in mind that higher oxygen flow settings tend to drain the battery faster. Once you've done the math, keep these calculations handy, as airlines may ask to verify them.
Selecting FAA-Compliant Battery Options
Stick to the batteries recommended by your oxygen concentrator's manufacturer. Look for batteries that clearly display their watt-hour rating and have the necessary certifications. Avoid generic or uncertified batteries, as they may not meet FAA requirements. If you need additional accessories, like a charging solution, consult your oxygen concentrator provider to ensure these items comply with airline regulations. Always refer to your manufacturer's guidelines for detailed compliance instructions.
Power Adapters and Charging Solutions
The right power adapters can mean the difference between a hassle-free trip and the stress of running out of power for your oxygen concentrator. Depending on your travel plans, it’s smart to pack a variety of charging solutions to meet your needs. Below, we’ll cover the essential adapter types and tips for staying powered up during your journey.
DC and AC Adapters for Recharging
Most portable oxygen concentrators come with both AC (wall outlet) and DC (car) adapters, and it’s a good idea to bring both when you travel. Use the AC adapter at hotels, airports, or other locations with wall outlets, and rely on the DC adapter when you’re in a vehicle.
Keep these adapters in a small, easily accessible pouch in your carry-on bag so you can quickly connect and recharge whenever necessary. Having both types of adapters ensures your concentrator can keep delivering oxygen without interruptions. Up next, let’s look at in-flight power options and what to expect.
In-Seat Power Compatibility on Flights
Don’t count on in-seat power outlets to run your oxygen concentrator during a flight. Airlines are not required to provide power for these devices, so it’s up to you to ensure your concentrator has enough battery life to last the entire trip.
Even when outlets are available, they often don’t provide enough power to run and charge your concentrator at the same time - especially if you use higher oxygen flow settings. This makes pre-charging your batteries and carrying extras a must.
Before booking your flight, contact the airline to confirm their policies on oxygen concentrator use and check the specifics of in-seat power availability. Power output can vary by aircraft type, and airline policies may change without notice, so always bring backup batteries to be safe.
Adapters for International Travel
Most portable oxygen concentrators are built to handle a wide range of electrical standards worldwide. They typically support input from 100–240 Volts AC and operate at both 50 and 60 Hertz, making them compatible with the electrical systems in most countries.
Thanks to this multi-voltage capability, you’ll usually only need a plug adapter - not a voltage converter - for international travel. A plug adapter simply changes the shape of the plug to fit local outlets without altering the voltage. Since most concentrators automatically adjust to the voltage, adding a converter isn’t necessary and could even damage your device, voiding its warranty.
If you’re unsure about your concentrator’s voltage compatibility, consult the user manual or check with your equipment provider before traveling. Also, note that cruise ships may use different power standards, such as 220 VAC, even if they depart from U.S. ports. Be sure to pack the correct plug adapters for your destination and confirm the electrical requirements with your cruise line if you’re planning a cruise vacation.
Packing by Carry-On vs Personal Item
When traveling with oxygen equipment, smart packing is key to ensuring a hassle-free journey. Knowing how to organize your gear between your carry-on and personal item can make all the difference. Portable oxygen concentrators and their accessories are allowed in carry-on bags, making it easier to stay organized and prepared. Keeping essential items within reach in your personal item adds another layer of convenience.
Items for Carry-On Luggage
Your portable oxygen concentrator should always go in your carry-on bag, not in checked luggage. This helps protect it from potential damage and ensures it's easily accessible during your trip [4–6]. During the flight, place the concentrator under the seat in front of you for quick access.
Lithium batteries required for your concentrator - whether primary, backup, or spare - must also be packed in your carry-on. Additionally, consider including backup cannulas and oxygen tubing in your carry-on. Having these items close by ensures you're prepared for any unexpected needs.
Using Personal Items for Easy Access
Your personal item, such as a purse, small backpack, or briefcase, is perfect for storing supplies you’ll use frequently. Items like a pulse oximeter, cellphone, wallet, and keys should be kept here for quick and easy access throughout your trip.
Organizing Accessories for Travel
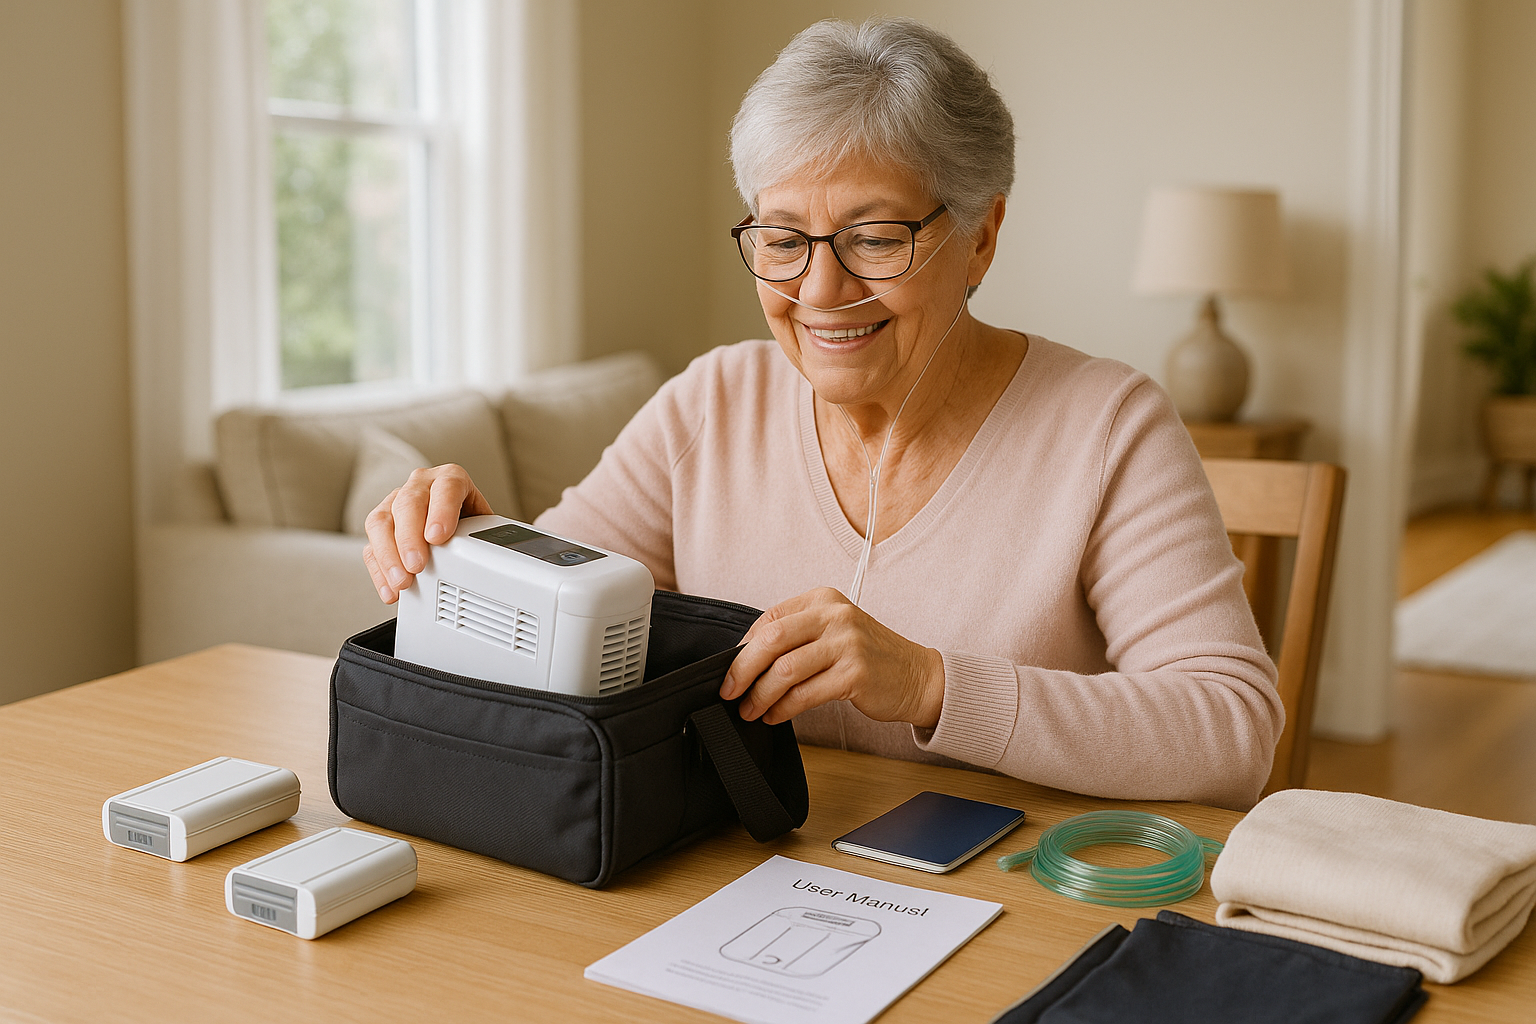
To keep your travel smooth and stress-free, consider using a dedicated bag designed for oxygen equipment. Look for bags with features like multiple tubing outlets, padded compartments, and specialized pockets to keep everything - batteries, cannulas, filters - neatly organized and easy to reach.
For example, bags with multiple outlet holes can prevent tubing from tangling, while padded compartments provide extra protection for your concentrator and batteries. Dedicated pockets can help you keep smaller accessories, like filters and cannulas, in order. Before packing, give your bag a quick clean to remove dust or debris, and make sure everything is accessible for TSA inspections.
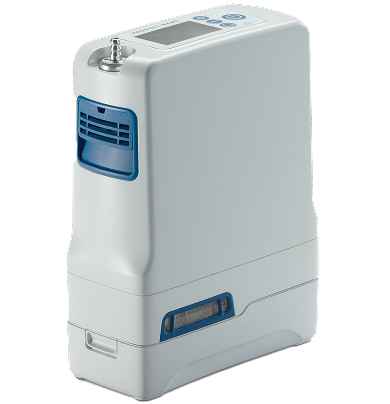
One option to consider is the Oxlife Independence Accessory Bag, which is specifically designed for oxygen therapy needs. It offers compartments for batteries and cannulas, along with extra space for personal items. This kind of bag can make a big difference in keeping your trip organized and stress-free.
sbb-itb-3e96dba
Backup Plan for Delays and Emergencies
Travel disruptions can unexpectedly interfere with your oxygen therapy, so having a plan in place is crucial for your safety and comfort. Here’s how to prepare with extra supplies and effective coordination.
Packing Extra Supplies
Always pack extra supplies to ensure uninterrupted oxygen therapy during emergencies. This includes fully charged batteries and, if applicable, spare primary lithium batteries for your portable oxygen concentrator.
If your device relies on battery power, having multiple fully charged batteries is essential. For models that support primary (non-rechargeable) lithium batteries, keep a spare set ready as an additional backup.
Coordinating with Airlines and Suppliers
Start coordinating with airlines and suppliers well in advance of your trip. Most airlines require at least 48 hours' notice when traveling with a portable oxygen concentrator, but notifying them as early as possible is ideal. When booking your flight, inform the airline about your oxygen needs and confirm their specific requirements.
You’ll also need to secure the proper documentation from your physician. Most airlines request a consent form verifying your medical need for a portable oxygen concentrator and your ability to use it safely. Some airlines have their own forms, so check their website or contact their medical desk to ensure you complete the correct paperwork.
Plan to arrive at the airport at least three hours early to allow ample time for TSA screening and check-in.
Keep critical phone numbers handy, including those for your airline’s medical desk, your oxygen equipment supplier, and your physician’s office. Having this information readily accessible can save valuable time in an emergency.
Creating a Contingency Checklist
A well-organized checklist can simplify your response during delays or emergencies. Consider including the following:
- Flight details and travel insurance information
- Contact numbers for your airline’s medical desk, oxygen supplier, and physician
- Copies of your physician’s consent form
Printable COPD Essentials Packing Checklist
A printable checklist can take the stress out of packing by helping you remember everything you need for safe and comfortable travel. This guide builds on your preparation strategies, offering a streamlined way to double-check all the essentials.
What to Include in Your Checklist
To make sure you're fully prepared, your checklist should cover these key categories:
Batteries and Power Management
Bring FAA-approved batteries with at least 150% of your total flight time. For instance, if you're on a 6-hour flight, pack batteries with at least 9 hours of charge. Don't forget protective cases for spares. Keep in mind that lithium batteries must remain under 160 Wh and should always go in your carry-on bag.
Power Adapters and Charging Solutions
Carry multiple charging options to keep your portable oxygen concentrator running smoothly. This includes AC adapters for wall outlets, DC adapters for car charging, and international plug converters if you're traveling abroad. Since in-flight charging options can be limited, having backups is especially important for long trips.
Medical Documents and Paperwork
Pack your oxygen prescription, a statement from your doctor, insurance cards, and any required airline forms. Store these in an easily accessible folder for quick access.
Oxygen Accessories and Supplies
Bring extra cannulas, tubing, replacement filters, and a humidifier bottle. Having spare oxygen supplies can be a lifesaver in case of unexpected delays.
Hygiene and Maintenance Items
Include alcohol wipes for cleaning your devices, hand sanitizer, and tissues. These are especially useful during long travel days.
Comfort and Personal Items
Pack items like a travel blanket, neck pillow, eye mask, snacks, and water to make your journey more comfortable.
Emergency Supplies and Contacts
Keep a list of important contact numbers, including your oxygen supplier, airline medical desk, and physician's office. It’s also a good idea to have a backup oxygen plan and a list of local medical equipment providers at your destination.
Here’s a quick reference table to simplify your packing:
| Category | Essential Items to Pack |
|---|---|
| Batteries | FAA-compliant batteries (150% of flight time), spares, cases |
| Power Adapters | AC/DC adapters, international plug converters |
| Medical Documents | Oxygen prescription, doctor’s statement, airline forms |
| Oxygen Accessories | Cannulas, spare filters, humidifier bottle, tubing |
| Hygiene Items | Hand sanitizer, alcohol wipes, tissues |
| Comfort Items | Blanket, neck pillow, eye mask |
| Emergency Supplies | Contact numbers, backup oxygen plan, local equipment list |
Use this table as a final check before you leave home.
How to Use the Printable Checklist
Start customizing your checklist about a week before your trip to align with your specific needs and itinerary. If you have layovers or international stops, you may need extra planning or paperwork.
Calculate your battery requirements using the 150% rule, and adjust the number of batteries you pack based on your travel duration. For shorter domestic flights, you might need fewer extras than for international or extended trips. Add any personal items to the blank spaces on your checklist and tick off each category as you pack.
Before heading out, double-check that your portable oxygen concentrator and batteries meet FAA regulations. Look for labels and watt-hour ratings to confirm compliance. Also, contact your airline ahead of time to verify their policies - some require notification 48 hours before your flight if you plan to use a POC onboard.
Keep a copy of your checklist in your carry-on bag for easy reference during your travels. Go through each category one last time before leaving to make sure nothing is forgotten. After your trip, update the checklist with notes about what worked well and what you might need to adjust for next time. This way, your future travels will become even more seamless.
Travel Confidently with Portable Oxygen
Traveling with portable oxygen can be straightforward and stress-free with the right preparation. Start by following FAA regulations, gathering necessary documentation, and contacting your airline at least 48 hours before your flight to prevent any unexpected issues. Packing extra supplies, as outlined in the checklist, ensures you're ready for any delays along the way.
A printable checklist is your ultimate tool for organized packing. Tailor it to your specific needs and use it to systematically check off items as you pack. This step-by-step approach helps ensure you’ve included all the essentials for your trip.
Communicating with your airline ahead of time is crucial. While FAA rules provide guidelines, airlines may interpret them differently. Reaching out to confirm their specific requirements helps you sidestep potential problems at the gate. Keep key documents like your physician's statement, device specifications, and insurance details on hand throughout your journey for quick access.
Being fully prepared is the key to a smooth experience. Arrive at the airport equipped with enough battery power, all required paperwork, and backup supplies. This preparation allows you to move through security and boarding with ease, making your portable oxygen concentrator just another part of your travel routine.
FAQs
If you’re traveling with a portable oxygen concentrator (POC), running out of battery mid-flight is a situation you definitely want to avoid. To prevent this, the FAA advises bringing enough fully charged batteries to cover at least 150% of your total travel time, including any layovers. For instance, if your trip is 4 hours long, you’ll need at least 6 hours of battery life.
Here’s how you can prepare:
- Pack extra batteries based on your POC’s battery usage and the length of your flight.
- Check your airline’s policies regarding POC batteries ahead of time.
- Carry all necessary power adapters, including ones for car or seat outlets, in case recharging is an option.
If you find yourself out of power, inform the flight crew right away. Some airlines might have emergency oxygen on board, but it’s ultimately up to you to ensure your POC has enough power for the entire journey. To avoid any surprises, coordinate with both your oxygen provider and the airline well before your trip.
To make sure your portable oxygen concentrator (POC) functions properly with international power outlets, verify that it supports 100-240V AC and 50/60Hz - features that most modern POCs include. Additionally, pack a universal travel adapter that matches the outlet types used in your destination.
Double-check the manufacturer's specifications to ensure compatibility and prevent any risk of damage. If you’re uncertain, refer to the user manual or reach out to the manufacturer for advice before your trip.
If your airline has different requirements for traveling with a portable oxygen concentrator (POC) compared to the FAA guidelines, your first move should be to reach out to the airline directly. They might have their own rules or ask for extra paperwork, like a medical certificate or prior approval for your device.
Make sure your POC is FAA-approved and complies with all safety standards, including battery regulations, to avoid complications. Check how many batteries you'll need for the flight, keeping potential delays in mind, and review any specific rules about using the device during the trip. Planning ahead is key to making your travel experience as hassle-free as possible.